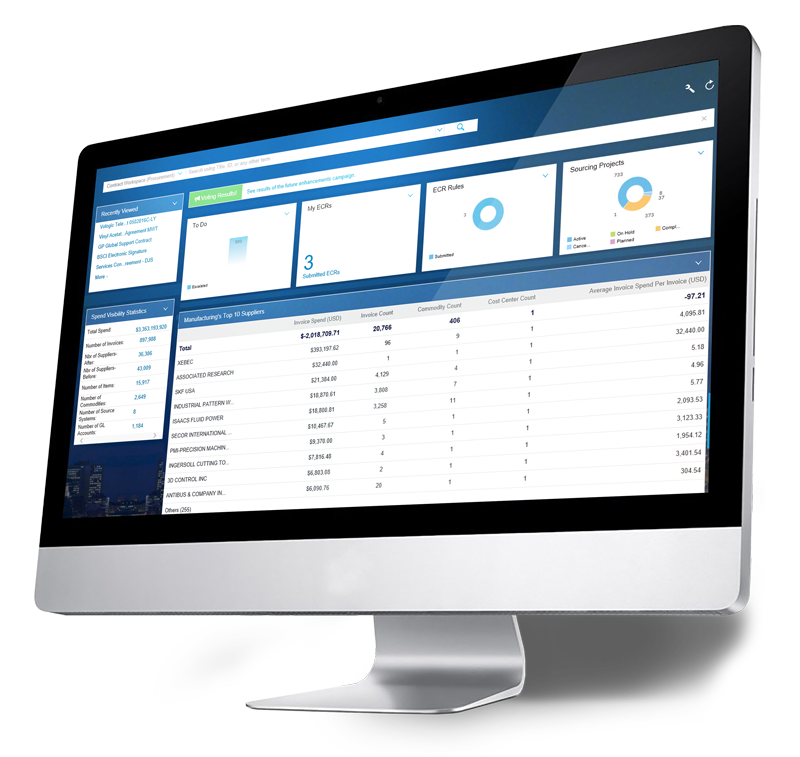
After the implementation of GST in India, all business with turn over more than Rs. 20 Lakhs have to register for GST. According to GST Rules, you can file for your GST returns only online. Hence to file your returns you need to maintain clear records of taxation electronically that you do. Therefore if you dont choose the right Accounting software with GST for your business- it is impossible to manage & maintain your GST compliance. A registrant needs to account for GST charges and GST paid on the taxable supplies made by him in each taxable period to get your GST returns without any complications.
GST is a single tax on the supply of goods and services, right from the manufacturer to the consumer. Credits of input taxes paid at each stage will be available in the subsequent stage of value addition, which makes GST essentially a tax only on value addition at each stage. The final consumer will thus bear only the GST charged by the last dealer in the supply chain, with set-off benefits at all the previous stages.
Here some features details as follows:
1) State: Admin can put all State names. This will help to further stock entry time.
2) Area: Admin can put all Area names.
3) Item: In this section admin can add Item name at that time he should generate an Item code and put a number for Re order level from this section.
4) GST Percentage : Percentage can be know.
5) Selesman :Admin can keep details of sales executive details by adding Name, Address, Phone, Email ID.
6) Supplier : Admin can add supplier name and details.
7) Expense Head: Admin create expense head by regular and monthly basis expenses from here like Housekeeping expenses, Rent, Electricity expenses etc.
8) Supplier Name: Admin can add supplier name and details.
9) Supplier initial payment : Add payment details in respect of Supplier name, type.
10) Balance Sheet : It is known the sheet that income and cost is result full of year and month.
1) Purchase: Admin or Outlet’s employee can keep the detail information of all purchases details as well as all purchase details can be checked from this section according to date-month-year in this section.
2) Daily Expenses: Admin can keep information of daily expenses in details and he can check all expenses details from this section according to date-month-year.
3) Payment to supplier: Admin can put individual supplier details who supply the payment, by adding Supplier name, payment amount, payment mode, date and as well as all payment to supplier details can check from this section according to date-month-year.
1) Daily Balance Report: Admin can check the daily balance collection from individual outlet in a day. Daily balance Report details can check from this section according to date-month-year.
2) Purchase Report: Purchase report details can check outlet wise, Item wise, Supplier wise by adding from date to date.
3) Expenses Report: Expenses report can check Date wise, Expense Head Wise, Outlet Wise, Order source wise, Company wise.

1) Staff entry: Admin can keep all record of their staff by adding staff name and Address, Bank name, Pan Number, Designation etc from this section. For that it will easy to generate salary as well as easy to place order according to staff name.
2) Staff Salary: Staff salary can generate according to year, month, date and employee ID as well as admin can check any time salary transfer details of individual staff.
3) Offer later: Admin can generate staff offer letter from this section by adding offer date, new staff name, Address, Designation of post, his actual salary Date of Joining, Authorized Person, Designation, Ref. No., And Company Name. After fill this necessary steps a offer later automatically generate of that particular Staff.
4) Staff Appointment Letter: Admin can generate staff appointment letter from this section by adding Ref No, Emp Id, Name, Address, Post, Application Date, Salary, Date of joining, The person name who authorized the new employee, and his designation. After that appointment letter will generate automatically.
1) Create New User: From this section admin can set Username, password of new user. After that user can able to log in this system.
2) User Management: After creating new user, user details can show in User Management. If want to edit or delete user, that is also can do from this section.
1) All database backup can be taken from here.
Related words: GST billing software, gst billing software in kolkata, gst billing and inventory software, gst accounting software, gst accounting software source code, gst accounting software in india, best gst billing software, gst billing software price, billing software for small business, gst billing software full version, best gst software for ca, gst return software free download.